

Menu

Our first condo listed on Airbnb has been a success. 2 years on I wanted to do another one: this is it.
The apartment was occupied for 14 years since before we purchased it and she told us that the previous owner did only the minimum to maintain the property, so the before photos show a tattered and worm space, but with good bones.
It’s actually quite amazing how well everything has held up for over 50 years. The cabinets and tile in the kitchen and bathroom were as solid as ever. It could have easily been cleaned up and slightly updated and put back up as a rental, but that was not my plan.
I’ve been anxious to do another Airbnb listing, but none of the other properties seemed a good fit. This one is. It possesses that extra something that can make it stand out, be more interesting, that is: the beautiful adobe brick wall, the mid-century modern architecture and the great location in Old Phoenix: the lush green Phoenix full of character and local businesses.
While the goal was a remodel specific to Airbnb, it may not be that forever – it has to be viable as a normal rental too. Either way, so much had to change.
What you’ll see in the photos is mostly visual, but we did some other major work behind the wall. All the windows were replaced with new double pane low E windows, the sliding door was replaced with a new double pane door and we changed out some plumbing and added or moved electrical outlets.
I took many more photos, but I’ll just focus on 5 each of before and after photos.
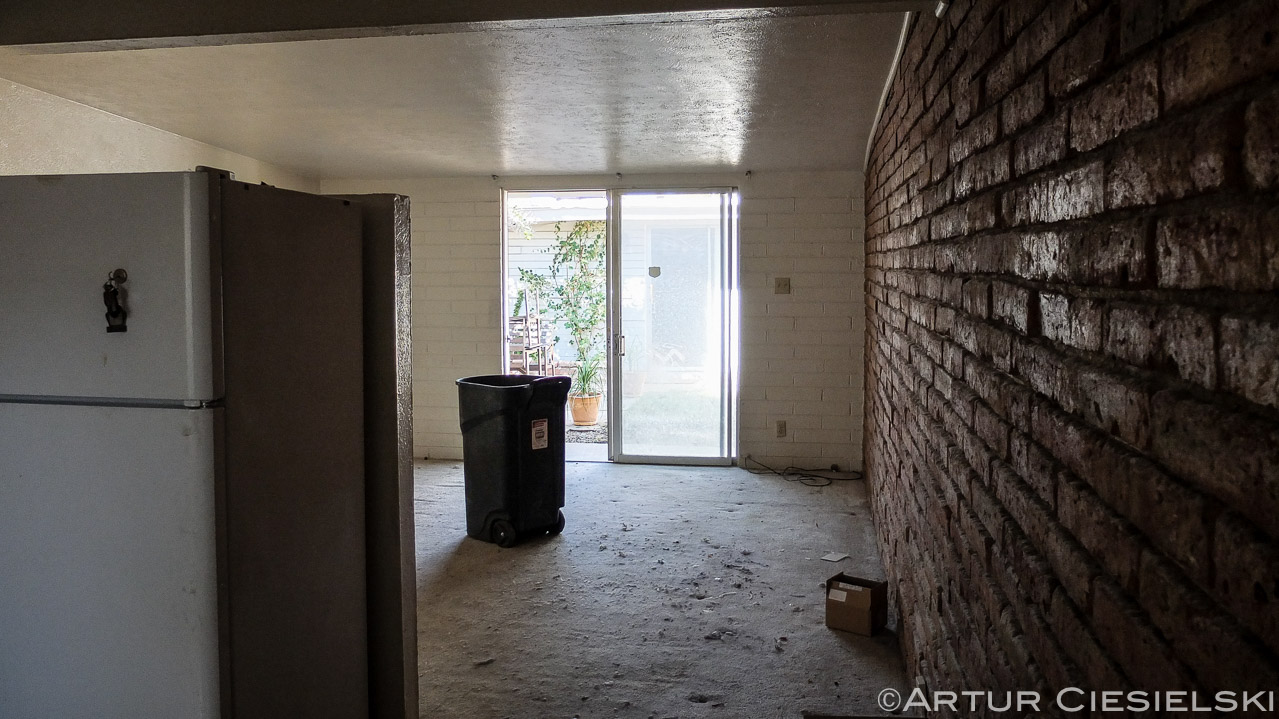
The first photo shows a wall separating the kitchen from the living room. It was a good solution and the opening toward the top still let some light through. None the less this was one of the larger changes to take place. The removal of the wall would open up the space, let more light through and visually enlarge the rooms.
In place of this wall we installed a narrower wall that went all the way up to the beam. It provided a base for the hood and some separation from the kitchen while still keeping it open.
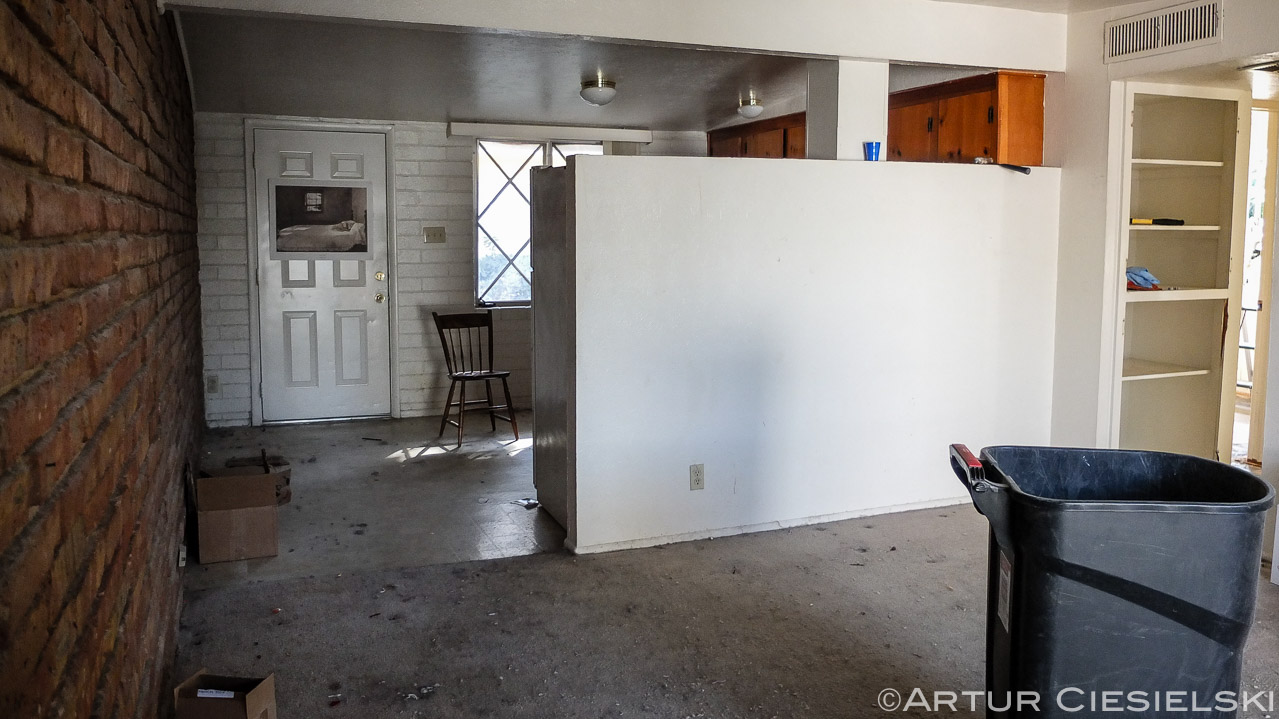
Before – living room.
To further open up the space the new cabinets do not have kick-boards: the sit on 4″ legs. This together allows light to flow through lightening up both rooms. Plus, I like to have the underside of the cabinets open for cleaning. After all these years I’ve seen too much down there. It’s a space that should be clean and not allowed to fester and collect years of dust, dirt, food and mold.
The uniform floor also enlarges both spaces and the higher gloss reflects more light allowing it to bounce around into the nooks and crannies.
The adobe brick wall was clean up and covered with a satin sheen protective coat – this somewhat enhanced its color and freshened it up.
After – living room.
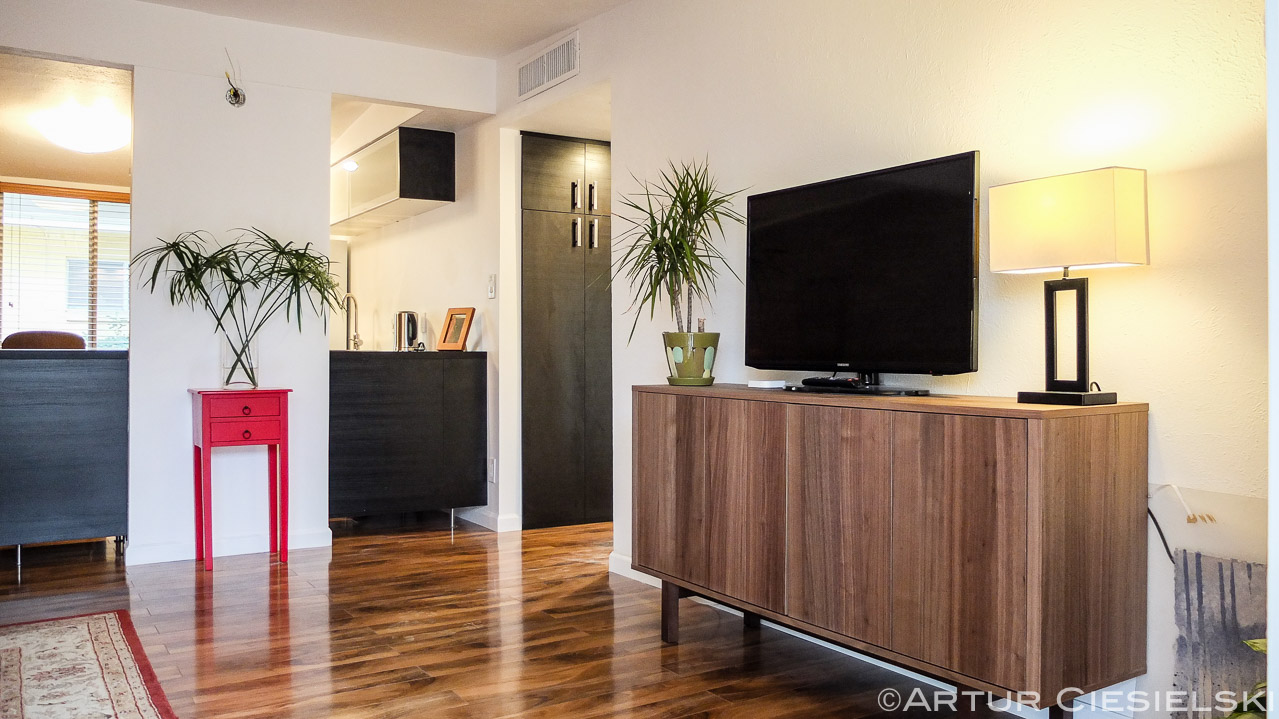
After – living room.
Notice the original oven. It still worked. I doubt the stuff made now will work 50 years later.
These cabinets were very difficult to remove. The wood was solid and put together with some of the longest and toughest nails I’ve seen. To rebuild it now in the same fashion and quality would cost a fortune.
As functional and well built as they were, it was time for a change. Who doesn’t like a new kitchen.
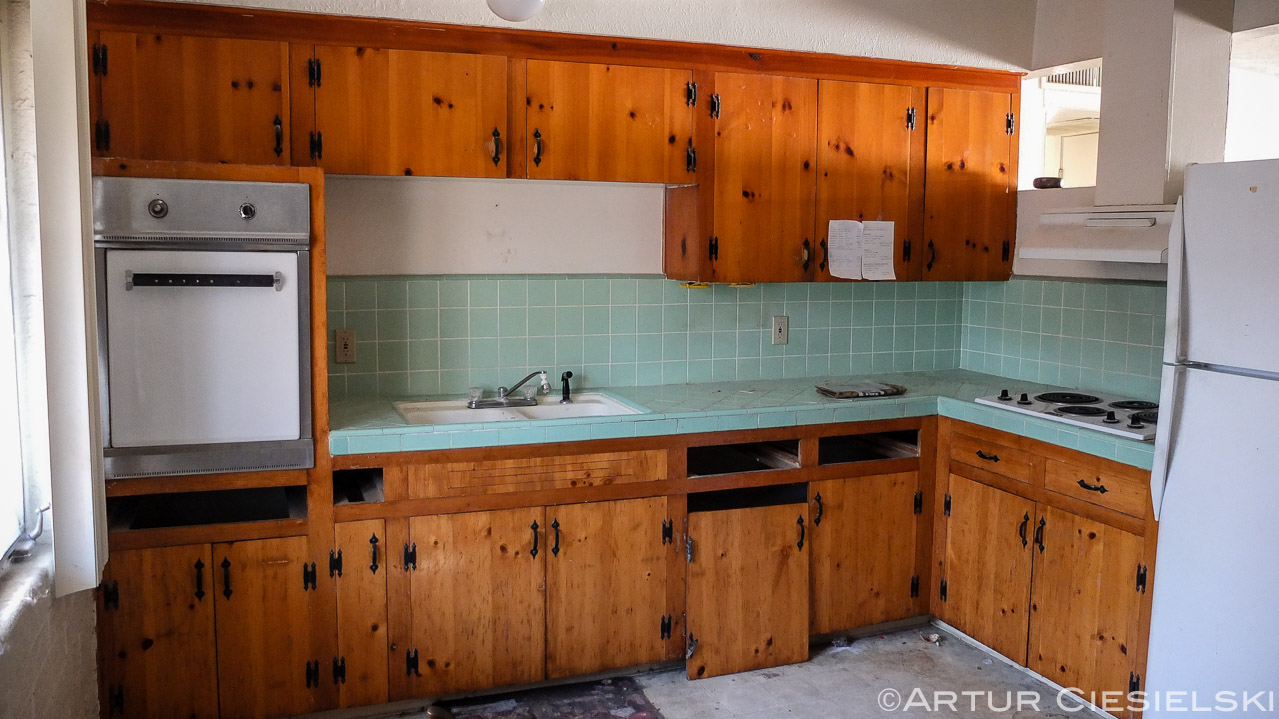
Before – kitchen.
As you can see the basic layout of the kitchen is intact. The refrigerator did move to where the built-in oven was before. The sink is in the same place more or less and the new oven and cooktop moved to where you see them below. The lower part has lots of storage space. It’s certainly enough for a short-term vacation rental and enough for long-term living as well.
There is some loss of space in the upper cabinets. There are fewer of them. What replaced them are two cabinets that are lighter in shape, color and size. This was done of open up the upper part of the kitchen since the ceilings are lower. It’s still enough to store a full set of glasses, cups, plates, bowl for 6 people plus some extra baking and mixing bowls.
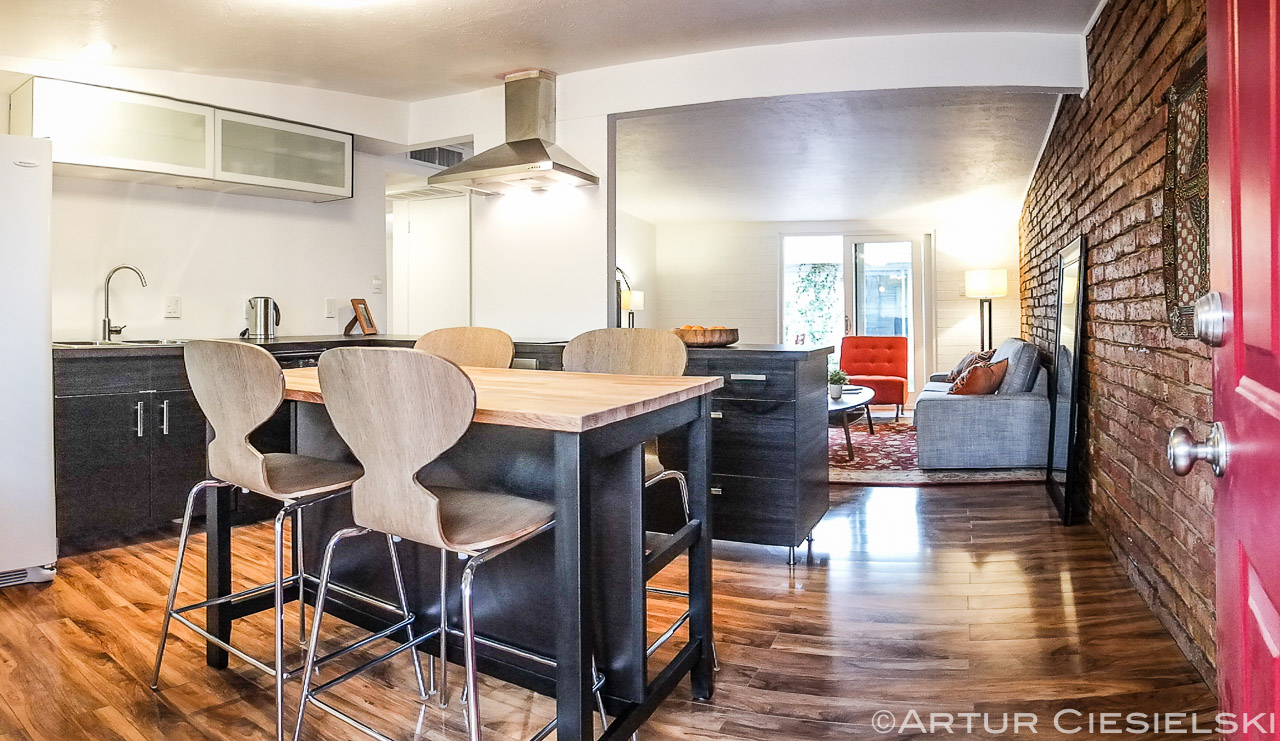
After – kitchen.
Before – kitchen to living room view.
The bathtub and tile art the same. The tile was cleaned up with a high pressure washer and re-grouted and the bathtub refinished. We’ll see how the finish holds up. If not I’ll replace it with a shower in the summer low season. Aside from those two items everything else was replaced, including some plumbing and valves.
A light was added on the ceiling and the new much larger built in cabinet has built in lighting.
The bathroom cabinet hangs from the wall. The lack of feet and ample access all around will provide air flow and easy access to keep this often damp space very clean, something I’m keen on.
The toilet was replaced with as narrow one I could find. Also it make sense to replace toilets that use 4 gallons of water for ones that use 1-1.28 gallons. This one allows two flows for different duties.
I’ve noticed a considerable reduction in water use and lower water bills in the properties where I’ve already changed out the old toilets.
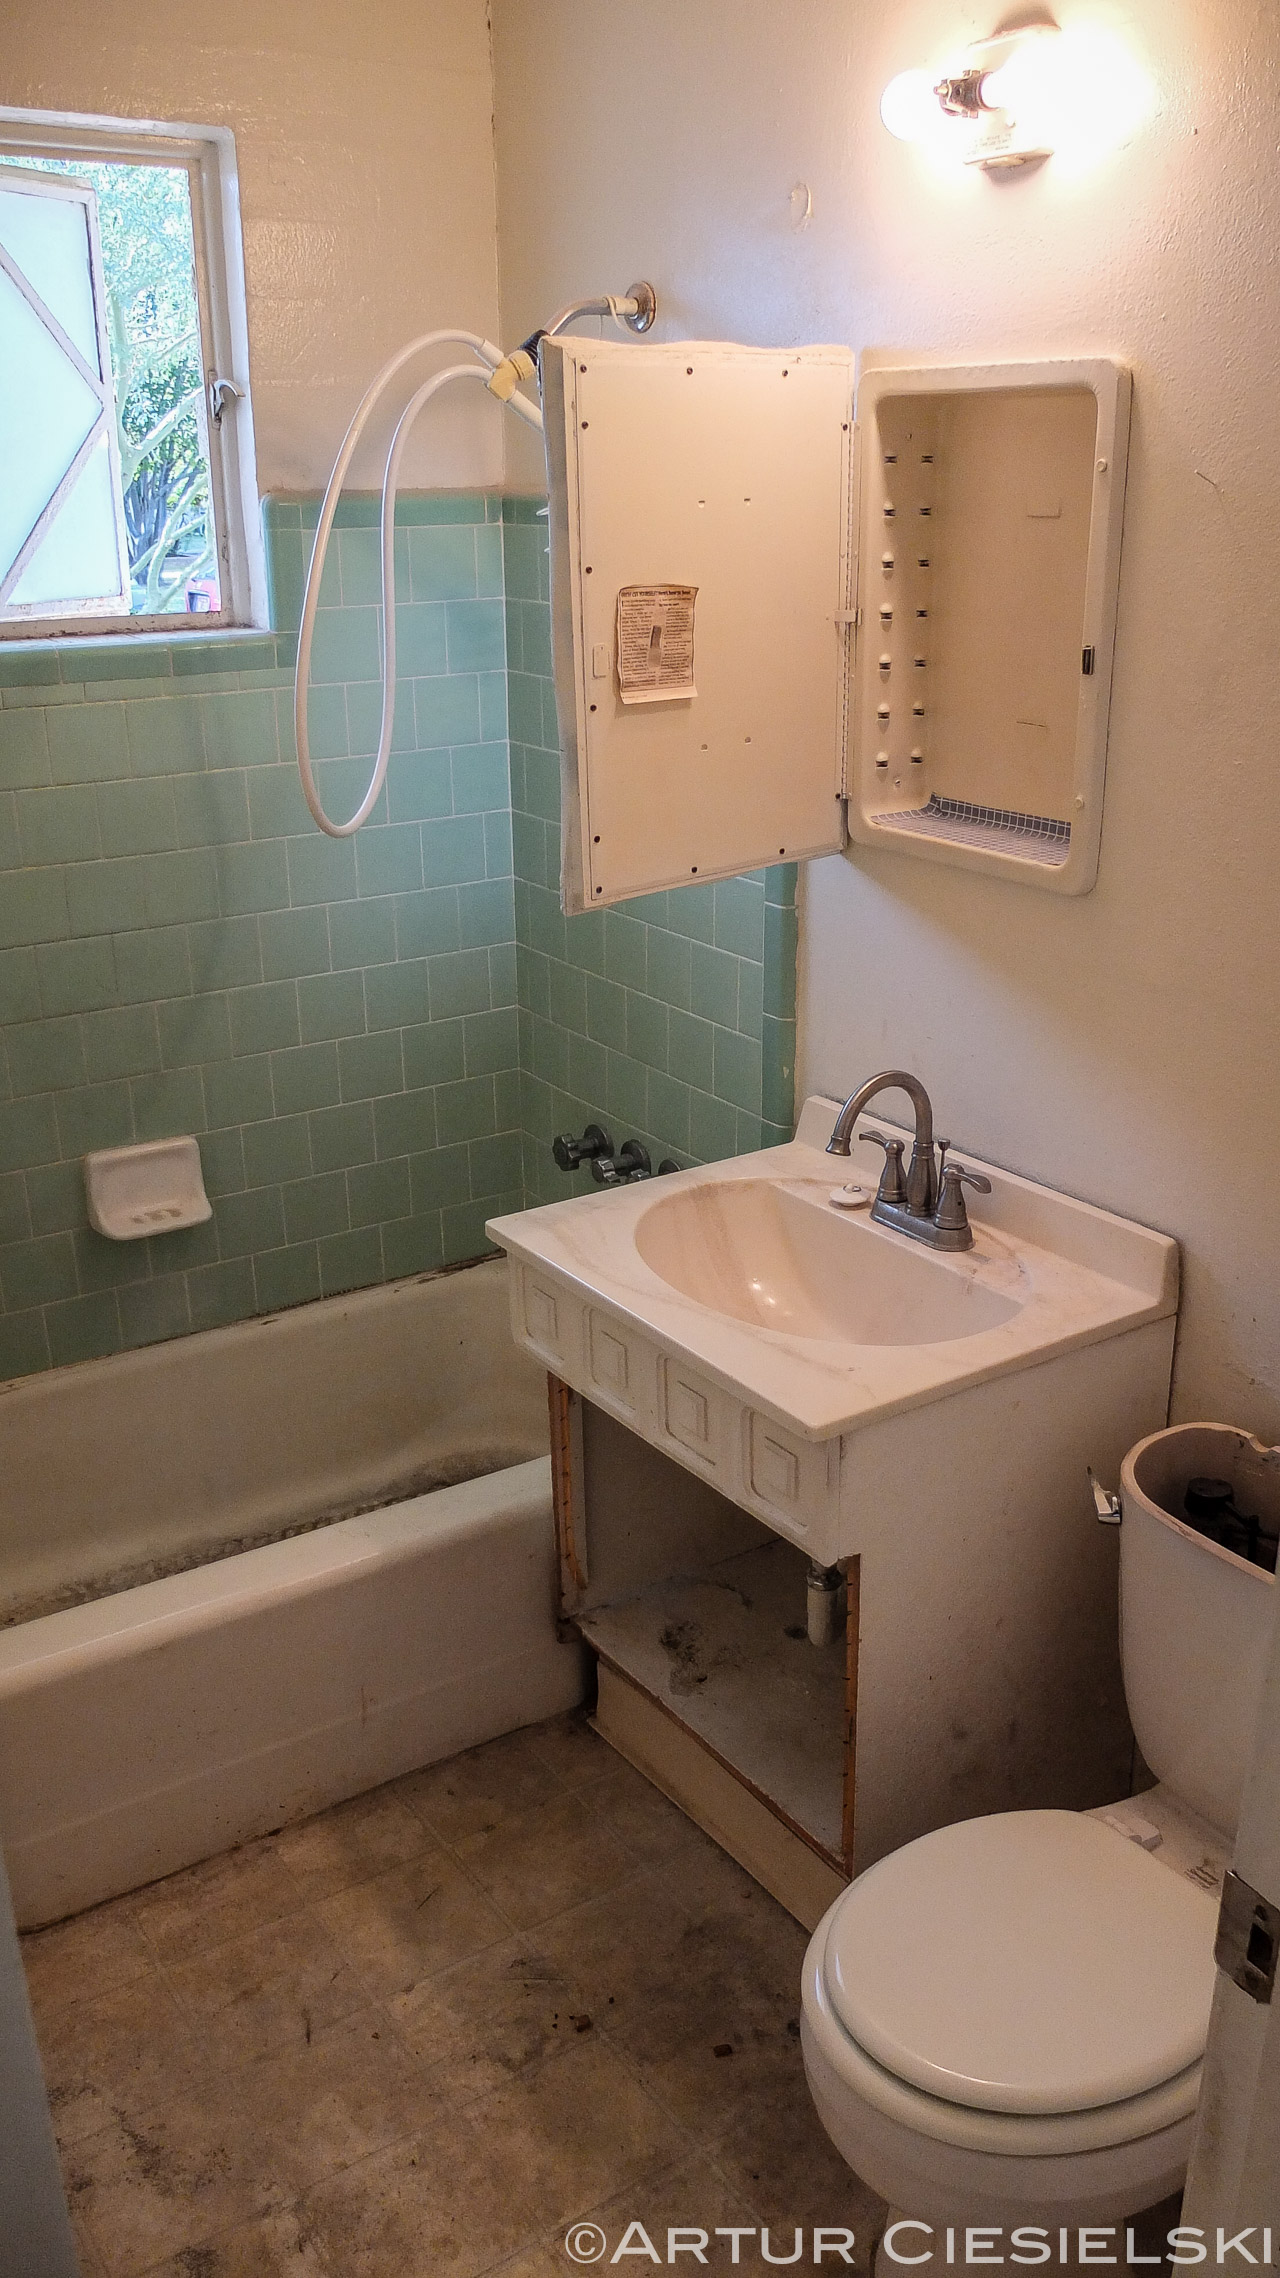
Before – bathroom.
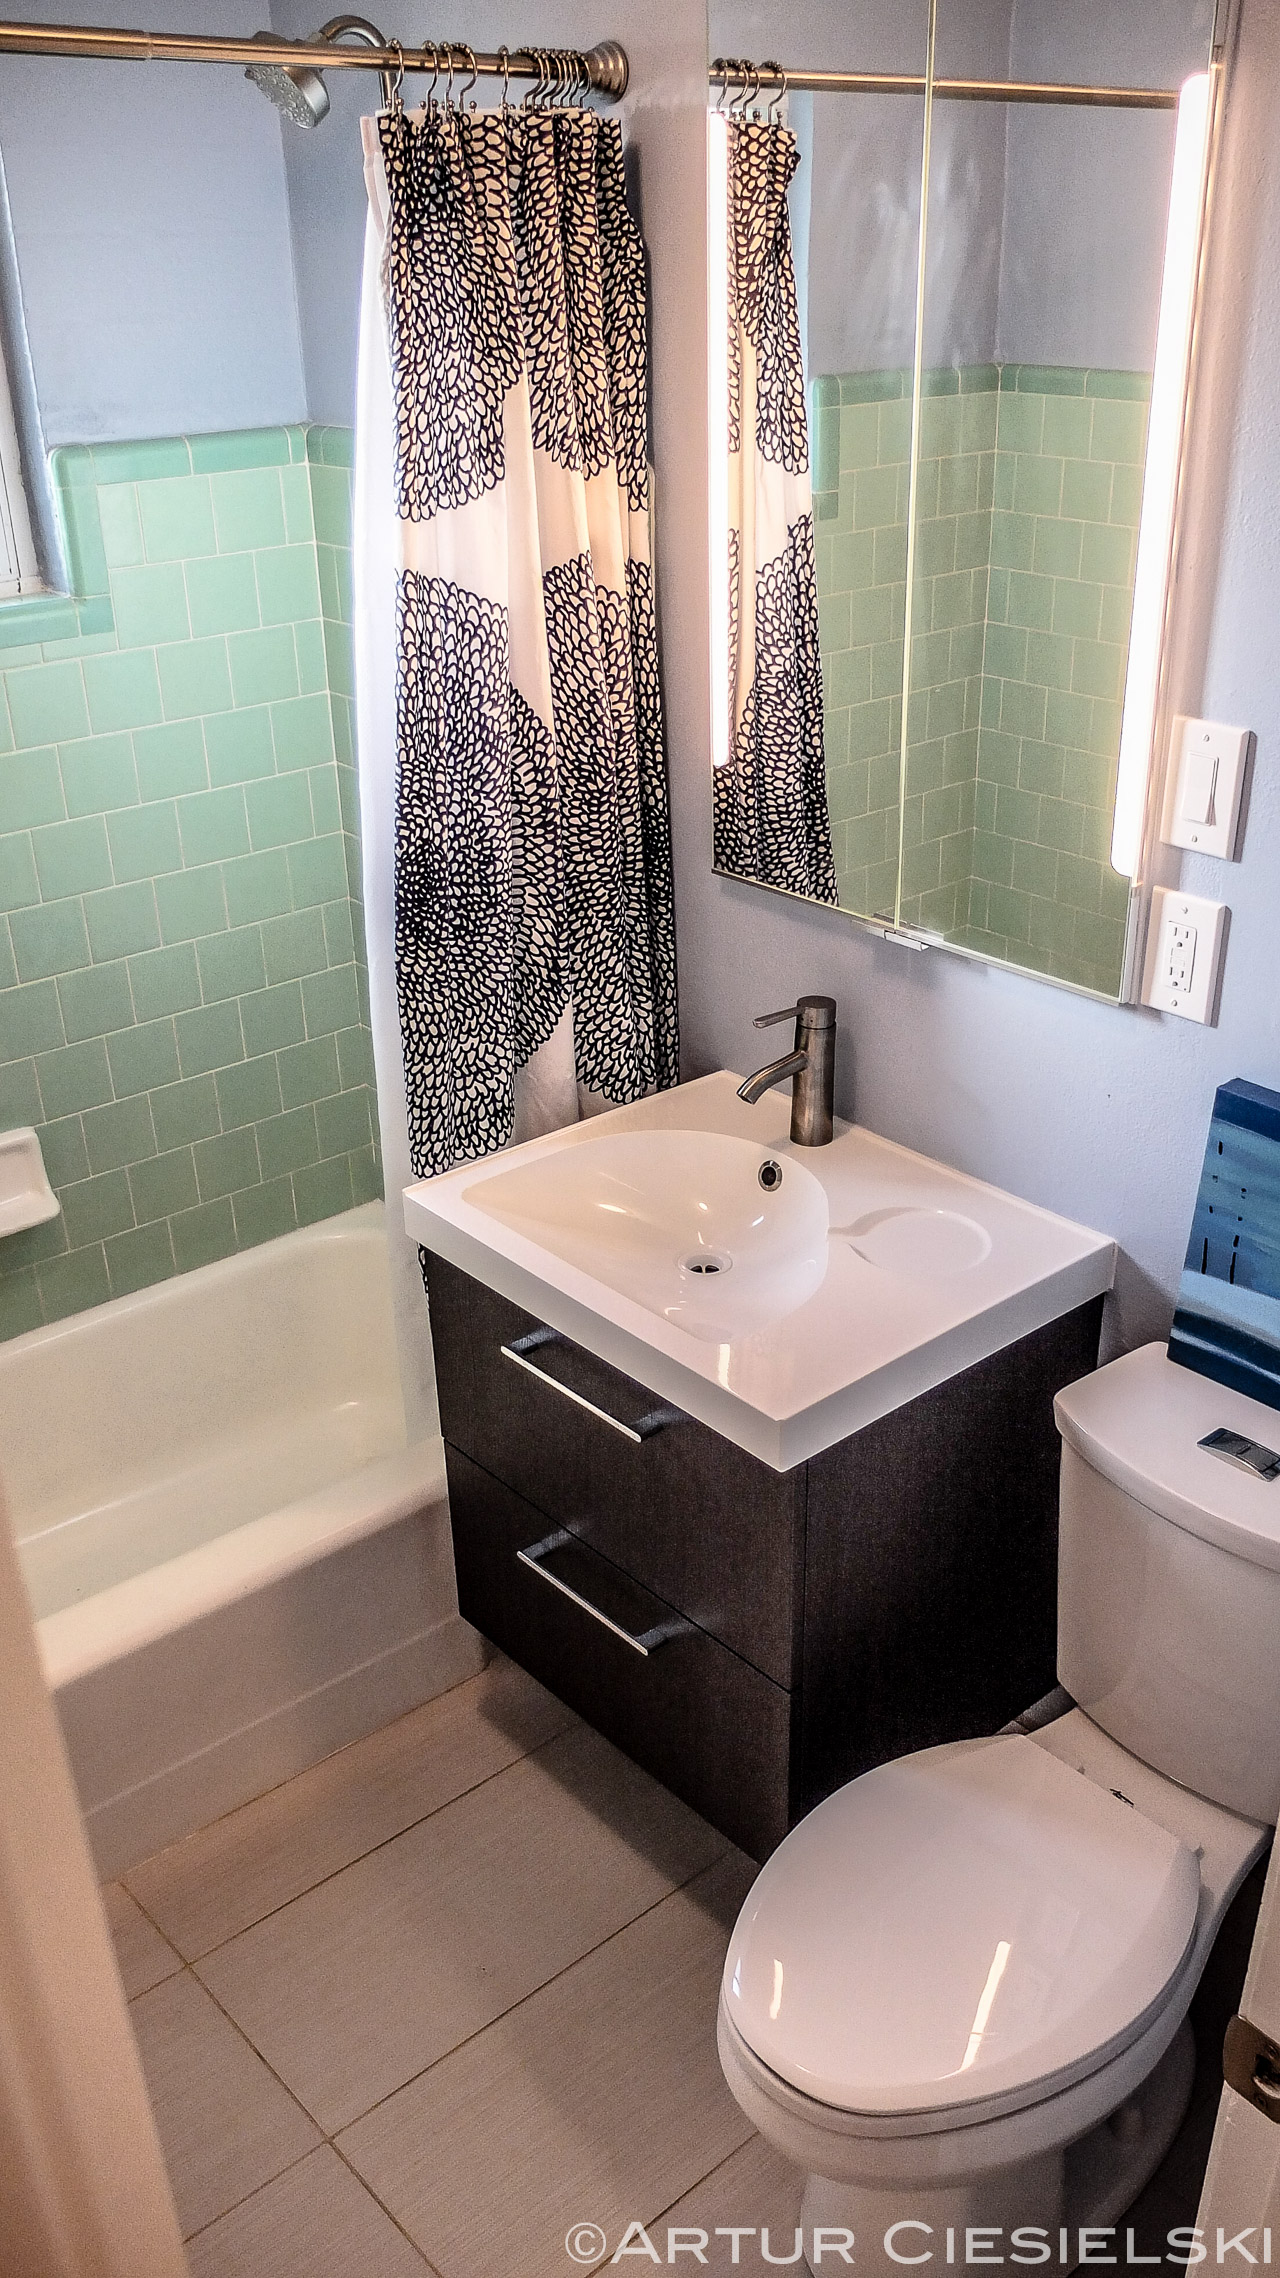
After – bathroom.
A small detail, but one of may favorite changes is the widening of the hall way. It was narrow. The new one is about a foot wider. To do this the linen closet is not as deep, but it’s new. The fronts are the same color as the kitchen. I like it.
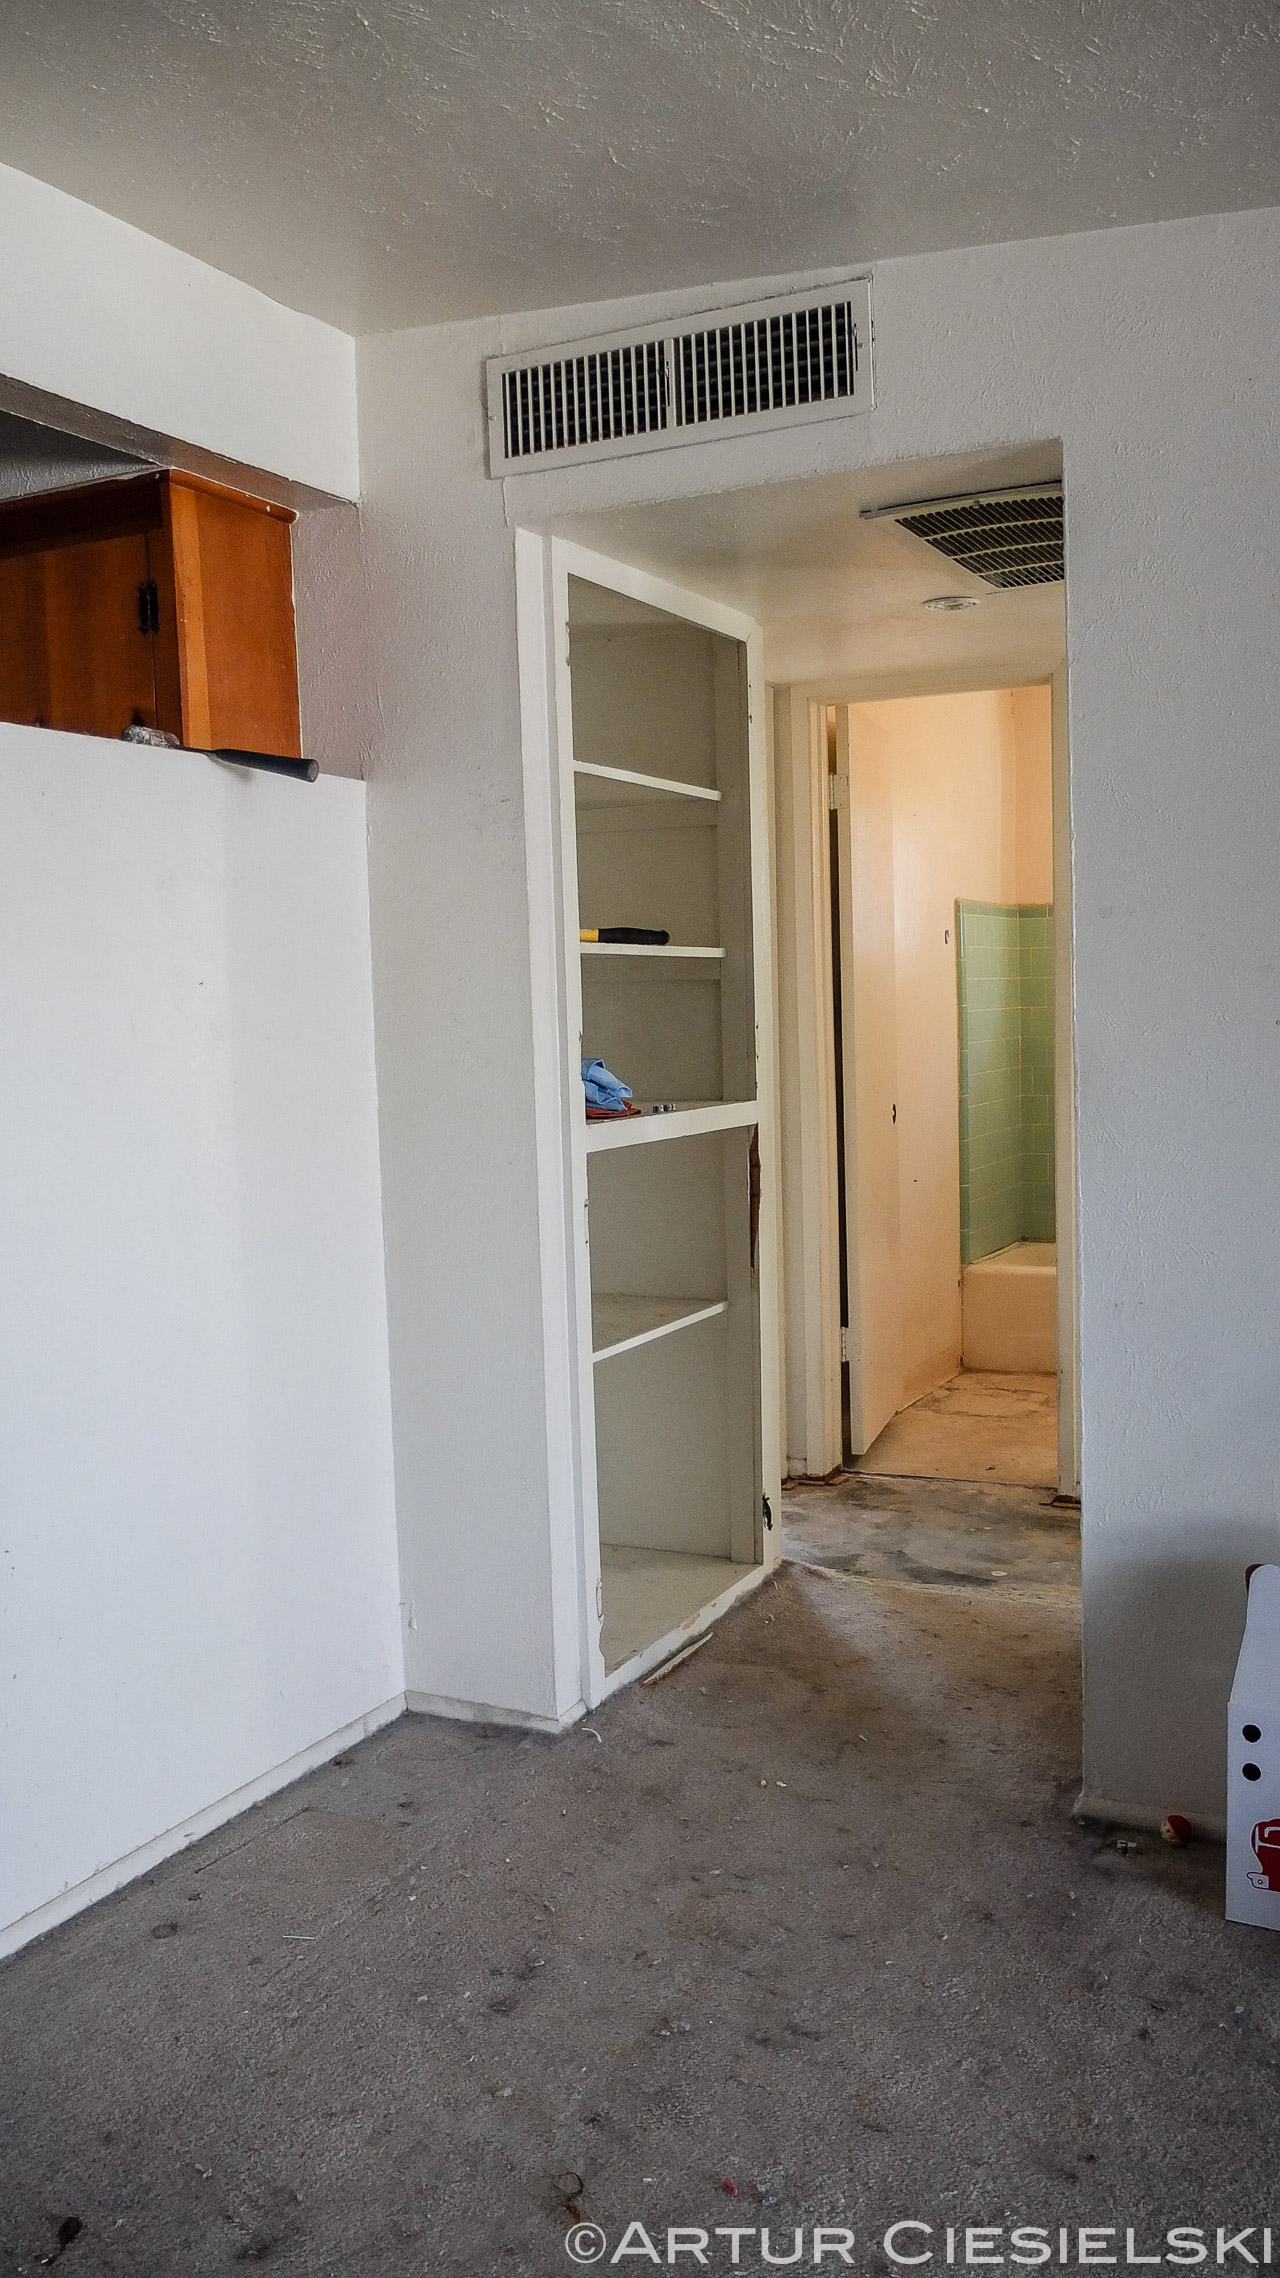
Before – hallway.
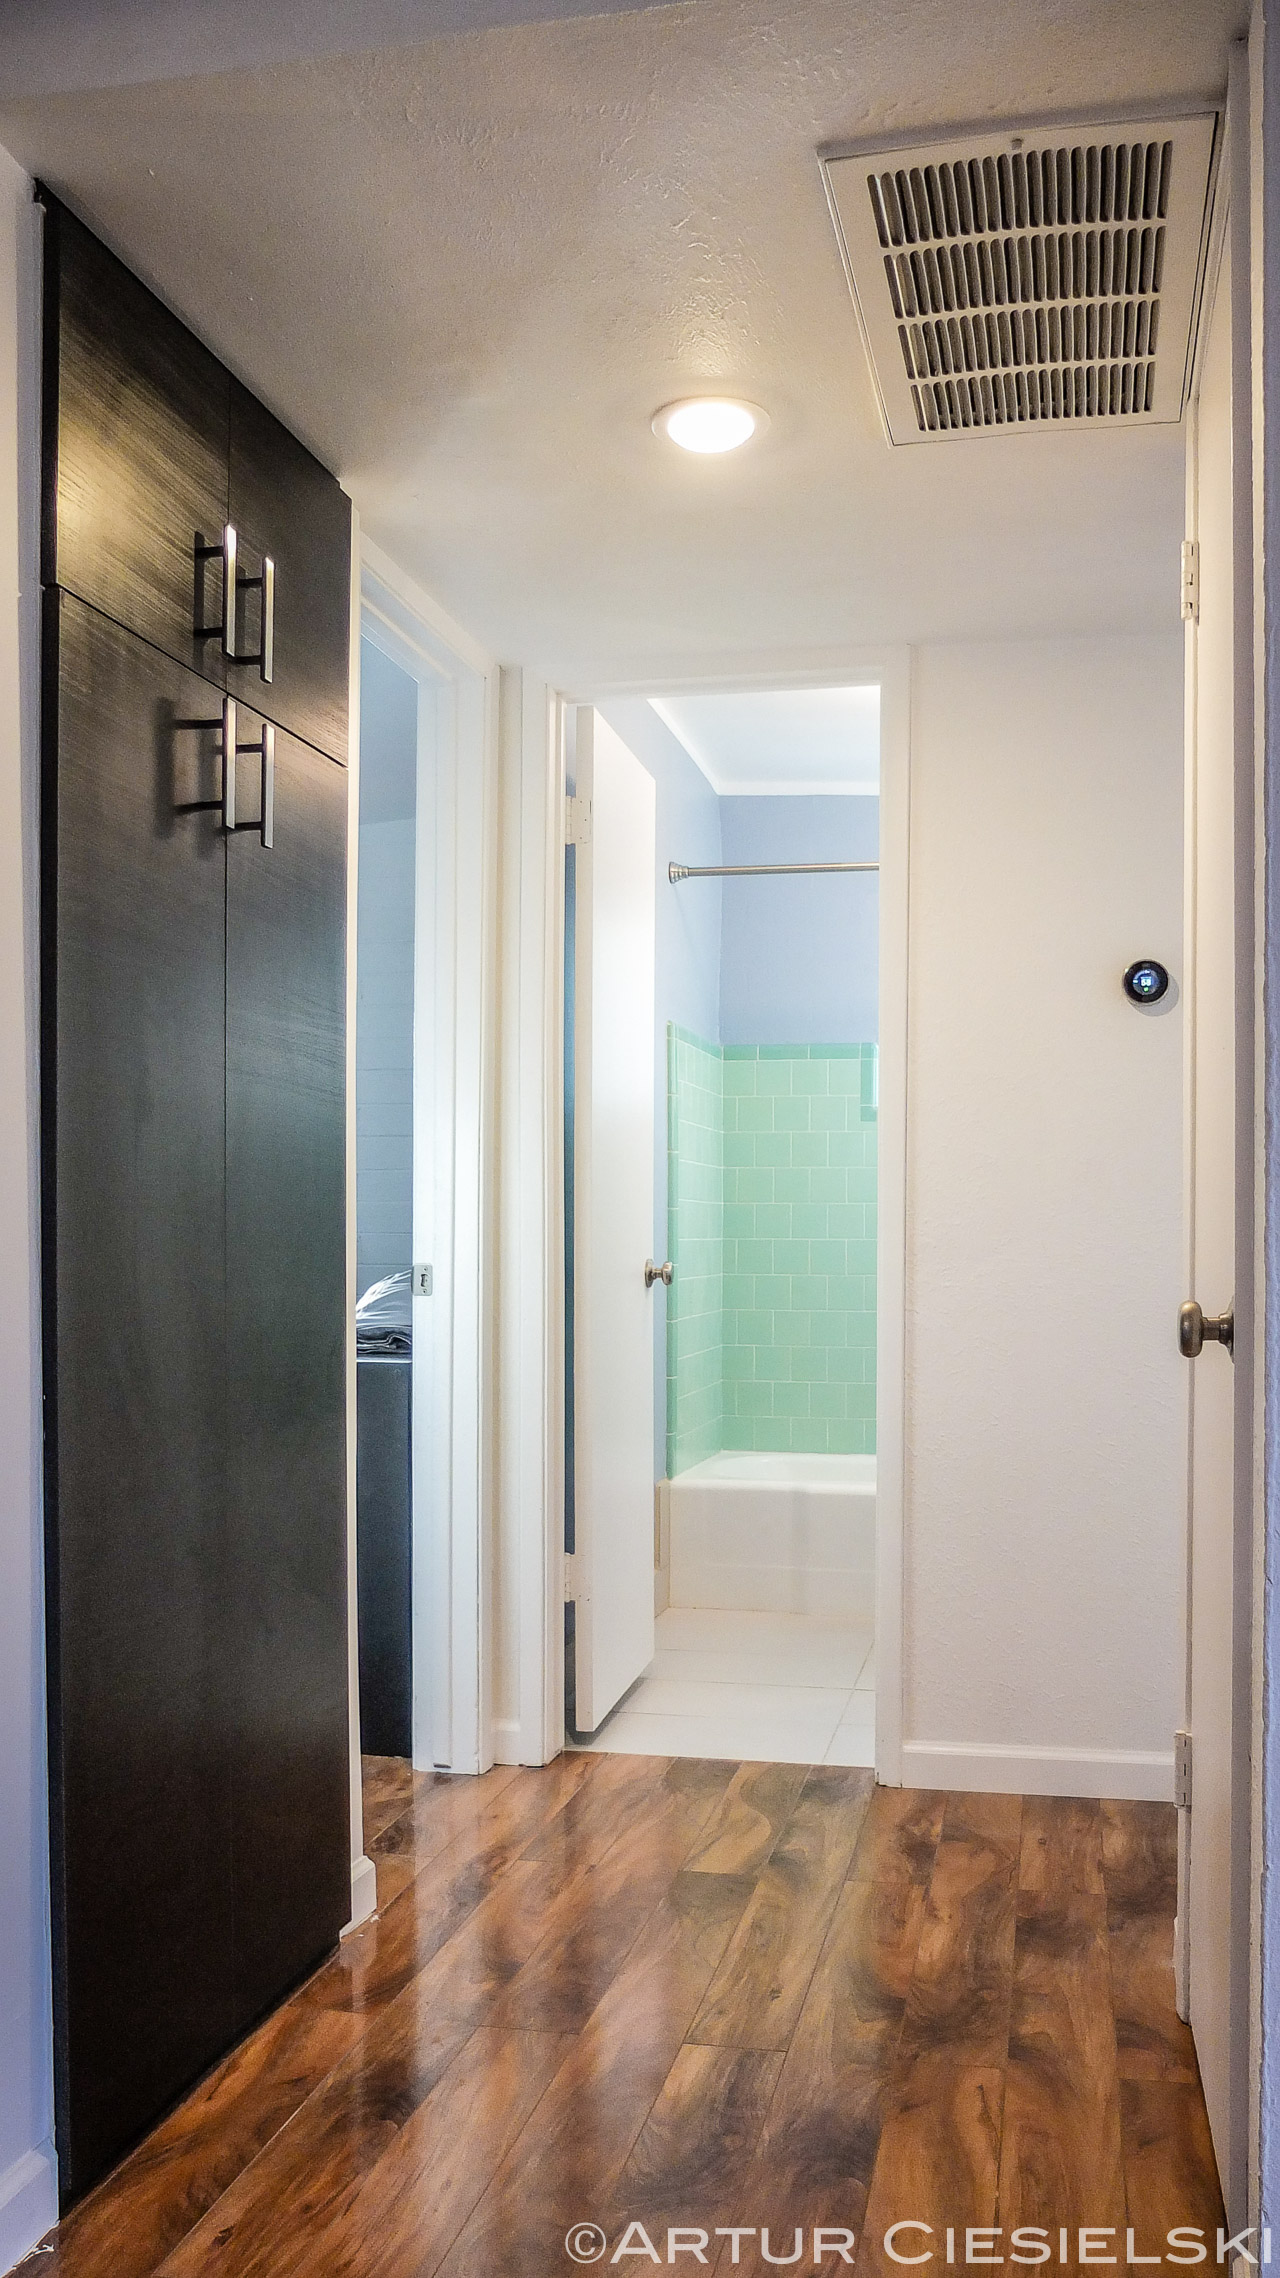
After – hallway.
The floor is uniform throughout the entire condo with no breaks.
I don’t show the bedrooms. There is no need. The have the same new floor, the new windows, new paint and fixtures. You can see them in the Airbnb listing.
I’m really happy how it turned out. It’s beautiful, functional and it will be easy to maintain a very clean space one that I hope guests will enjoy very much. I’ve spent tome time here and it has a good feeling.